In February, many new features arrived 🤩
1. Red asterisks for mandatory fields
We added red asterisks next to required questions or fields in the registration questionnaires, so participants have a visual cue as to which fields are required or not.
2. New statistics in the Admin area
We have reworked the organization of the statistics in the Admin area, so in the overview tab, you can see that the statistics are divided into several features.
These statistics group together those of all the programs managed on the admin space.
It is possible to filter them by program.

-
3. New format for expert feedback
An expert can now provide feedback to the project team following a coaching session by formatting his message and adding an attachment(s)
-
4. New transactional emails
Now, applicants who have not finished completing their registration form will receive 3 different emails:
- an email one week before the registration deadline
- an email D-3 before the closing of the registration
- an email 24 hours before the closing date
You can modify them by going to "manage the program" then "settings" and finally "transactional emails", click on the 3 small dots of the transactional email you want to modify.
It will be the following emails:
- CompleteChallengeUserRegistrationWeek
- CompleteChallengeUserRegistrationThreeDays
- CompleteChallengeUserRegistration
-
5. A new interface to validate or refuse an application (participants or projects)
We have created a new interface that will allow you to view the registration forms, for participants or projects, while validating or rejecting them.
Here is how to accept/reject an application manually:
- Click on "manage the program"
If you want to accept/reject a project:
- Click on the project tab
- Click on "application"
- Click on the first project
- This way, you will be able to see the full project application, form responses, attachments, etc.
With this view, you can accept or reject an application by changing its status.
You can also add a note on the project, but also by clicking on "More Actions", you can add it to a jury or voting session.
In the "Members" tab you will be able to see all the members of the project as well as their participating forms.
Once finished, your actions are automatically saved, just click on "next".
-
If you wish to accept/refuse a candidate:
- Click on the participant tab
- Click on " applicant".
- Click on the first applicant
- This will show you the same configuration as for projects, but this time with the participant questionnaire, do the same actions as for projects.
By clicking on the "projects" tab, you will be able to see their project submission form.
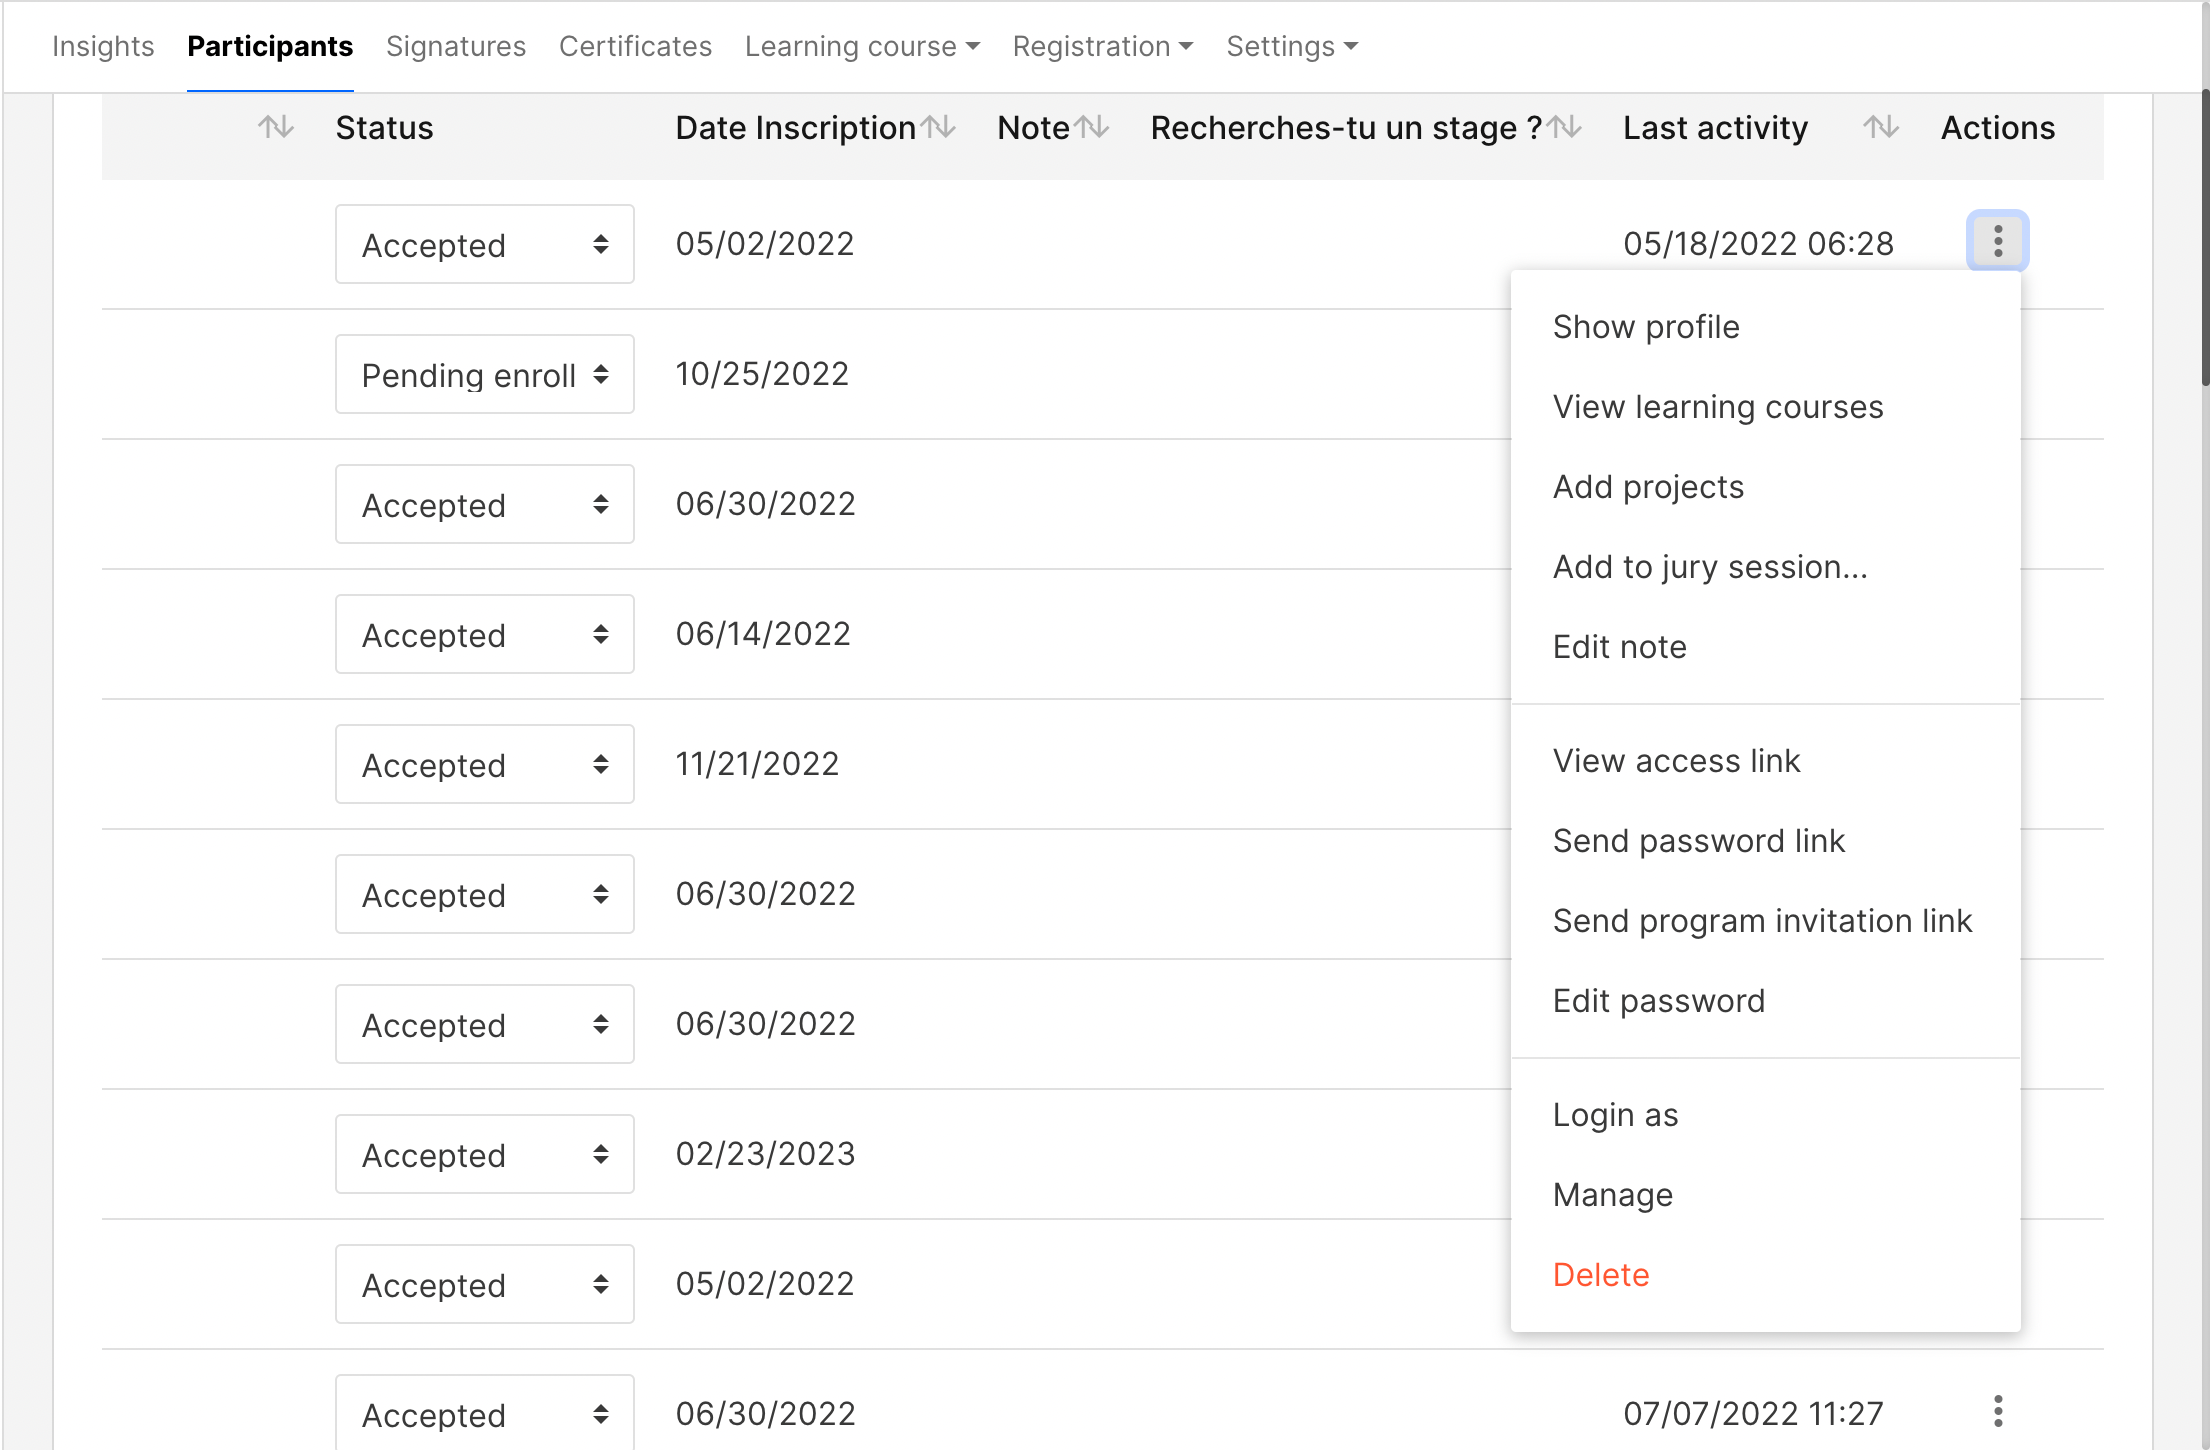
6. A new display of actions
As a reminder, the actions are located on the information line of an element: for example, on the line of a participant, on the right hand side, you will find the "Action" column and underneath 3 small dots that allow you to perform several functions.
We have reworked the structure so that the actions are more readable and easier to find.